|
|
Note: The Twitter API now requires authentication for all widgets. Only Administrators may use this process to insert a widget from the Twitter service into any workspace page.
- First, visit this link in the settings of your Twitter account and create a new widget linked to your account. You must have a Twitter account to create a widget. At the end of this process, copy the HTML code provided by the Twitter service.
https://twitter.com/settings/widgets
- Go into edit mode on your workspace by clicking the "Edit" tab.

- Click the "Insert" button in the editor toolbar, and select the HTML/Javascript plugin.

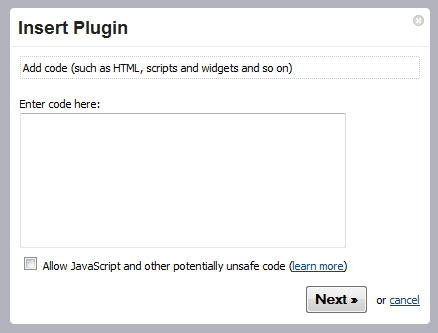
- Paste the code into the HTML plugin text field, and click "Next". You will also need to check the box to enable Javascript (which is part of the Twitter widget structure). If you do not see a checkbox to allow Javascript you will need to have a user with Administrator permissions insert the widget on the page on your behalf. Only Administrators can insert Javascript onto pages.
- Finally, click "Insert Plugin" and "Save" your workspace page.
Example:
|